

A Shoe Polishing Guide
26 May 2026
A well-polished shoe is one of the small things in life that makes a big impression, giving a smarter appearance, longer-lasting shoes and a sense of satisfaction. And the truth is that most people polish too infrequently or even skip it altogether, without realising that doing so has a negative impact on the appearance and health of their shoes.
In this definitive shoe polishing guide, we’ll show you why polishing matters and exactly how to do it. Here’s what we’ll cover:
- Why shoe polishing matters
- Essential shoe polishing tools and materials
- Step-by-step shoe polishing guide
- How to maintain leather shoes long-term
Why Shoe Polishing Matters
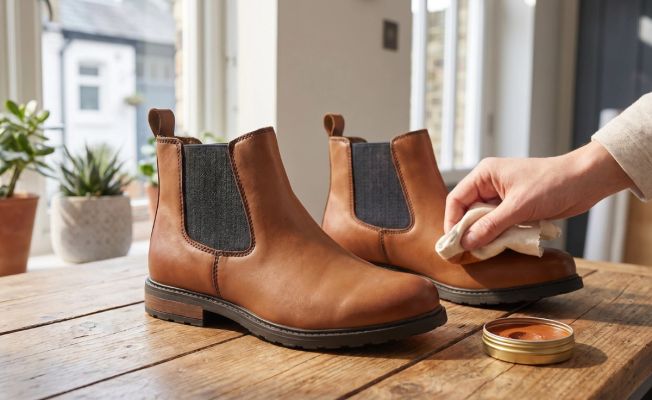
Shoe polish does two important jobs: it restores the appearance of scuffed shoes, and it creates a protective barrier against moisture, salt and other potential sources of damage.
Leather dries out naturally over time, and polishing replenishes those lost oils to keep the material supple and flexible. Polished regularly, leather shoes will last much longer than their unpolished counterparts.
Shoe types that benefit most from polishing include:
And in terms of what to avoid polishing: suede, nubuck, canvas, synthetic materials.
Essential Shoe Polishing Tools and Materials
Here’s what you’ll need to properly apply polish and achieve the best results:
- Shoe polish: this is the essential component of a shoe care kit; it’s a product that will keep your shoes looking brand new and will also form a protective barrier against any grit or dirt. It’s vital that you pick a polish that matches the colour of your shoes and is suited to the material your shoes are made from.
- Horsehair brush: a quality brush is another shoe care essential, required for both cleaning and buffing your shoes. The bristles of a shoe brush are extra flexible and will easily get into every nook of your shoe to help dislodge any dirt and apply shoe polish.
- Soft lint-free cloths: these will help to remove any dust or loose dirt. We recommend investing in at least two, as you’ll need one to clean your shoes and another to apply leather conditioner and buff out any polish for the perfect shine.
- Leather cleaner or saddle soap: a good leather cleaner should be your go-to product when it comes to keeping your leather shoes in tip-top condition. This removes old polish before fresh polish goes on.
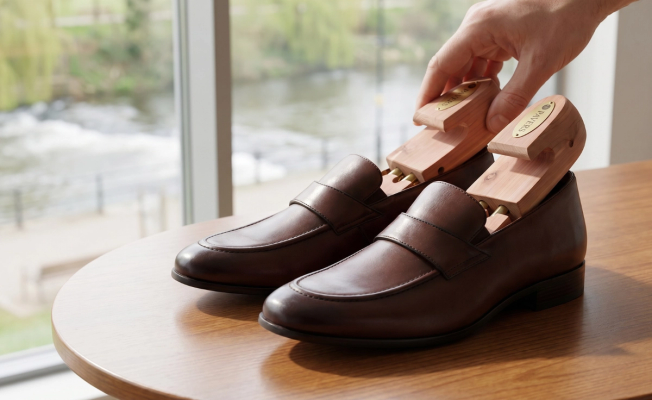
- Shoe trees: these hold the shape during polishing and drying, helping your shoes to keep their structure.
Step-by-step Shoe Polishing Guide
Now you’ve got the equipment, here’s how to get your leather shoes looking spick and span. Follow these steps in order, because the sequence matters as much as the technique, and skipping steps can undermine the process.
Step 1: Prepare the Shoes
Getting things ready is a crucial step, so make sure to follow these closely.
Step 1: Prepare the Shoes
Getting things ready is a crucial step, so make sure to follow these closely.
Remove the Laces
Laces get in the way and can get stained by polish if they’re left in. Remove them before doing anything else. This is a good opportunity to decide whether they need replacing, too: fresh laces can make a big impact on the shoe’s appearance. If you’re not replacing them, wash laces with a damp cloth.
Clean Off Dirt and Dust
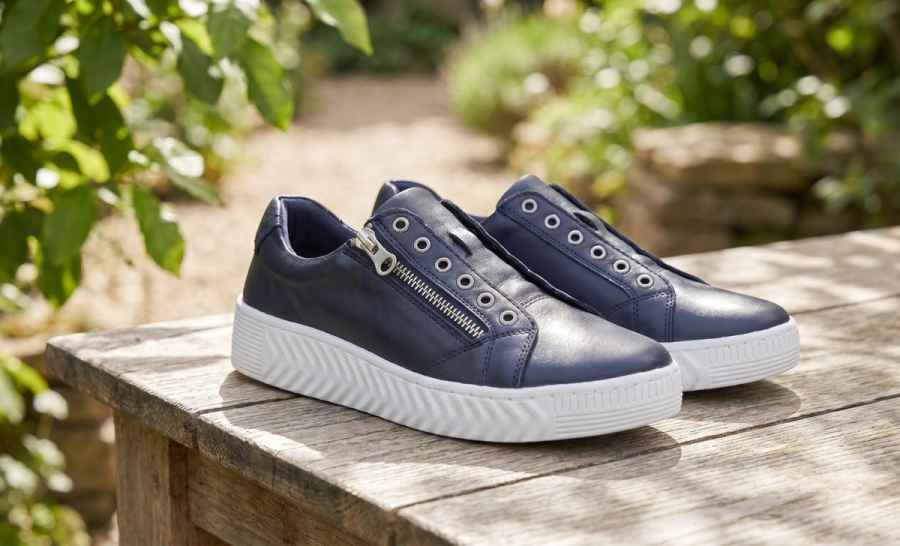
Use a soft brush to remove loose dirt and dust, then use a damp cloth or leather cleaner to remove old polish residue. Polish applied on top of residue or other grime won’t adhere properly and won’t create the desired shine. Let the shoes dry before moving on to the next step.
Insert Shoe Trees
Once they’re clean and dry, insert shoe trees into your shoes to hold their shape and prevent creasing. You can use tightly stuffed newspaper as a substitute here.
Step 2: Apply the Shoe Polish
The application technique is just as important as the polish, so again, familiarise yourself with the steps before starting.
Apply in Small Amounts
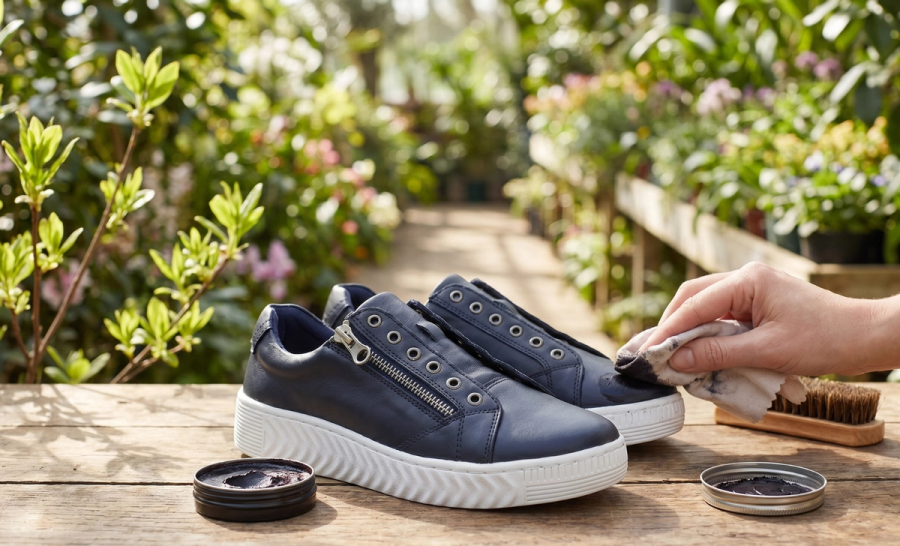
Use a pea-sized amount per section, because too much polish can build up, dull the finish and be hard to buff out. A cloth wrapped around your finger or a horsehair brush, worked in small circular motions, will work the polish into the leather grain.
Cover All Areas
Work methodically across the whole shoe: toe, sides, heel, tongue, without leaving any patches. Work carefully on the toe box and other areas that crease with wear. If you’re polishing long boots, work up the shaft in sections and ensure even coverage.
Choose the Right Polish
There are different types of polish, so make sure you get the right one:
- Wax polish has a harder formula and gives a higher shine, along with better water resistance. Great for formal shoes.
- Cream polish is softer and easier to work with, better for everyday shoes or colour restoration.
Also, make sure your polish colour matches your shoes! Always test a small hidden area of the shoe first when using a new polish to check that it looks OK.
Step 3: Let the Polish Absorb
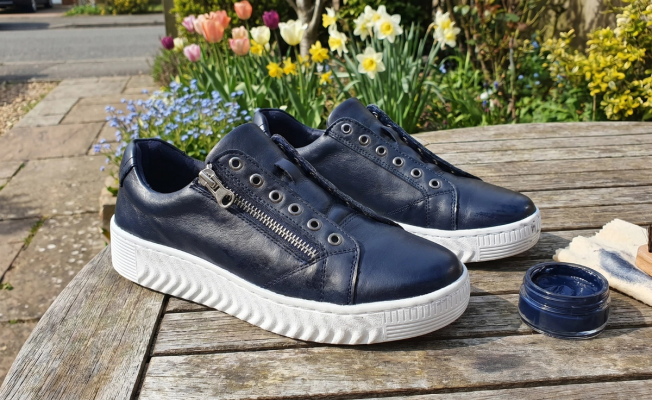
Leave the polish to absorb for 15-20 minutes before buffing: the leather needs time to draw in the wax, and buffing too soon means you just move things around rather than actually building a shine.
For the best shine, you can repeat this step, applying a second thin coat after buffing the first.
Step 4: Buff Your Shoes
This is the step where you achieve the shine.
Use a Horsehair Brush
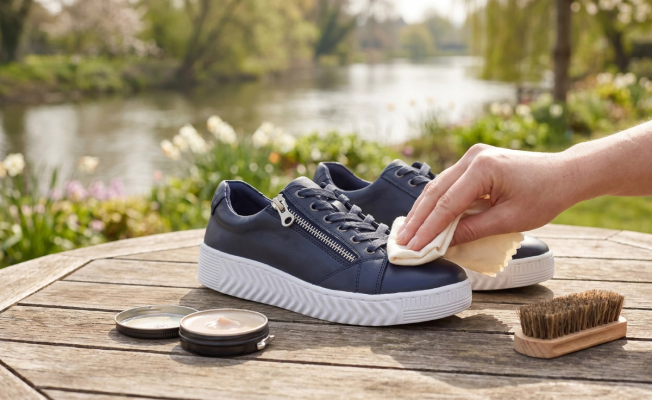
Fast, back-and-forth strokes are best for getting a shine: the friction generates a small amount of heat that helps the wax bind to the surface. Remember you’re activating and not scrubbing, so you don’t need to apply lots of pressure.
Use a Soft Cloth for Extra Gloss
A final buff with a cloth improves the quality of the shine: wrap it around two fingers and use small, fast circular motions.
Step 5: Finish the Edges and Heels
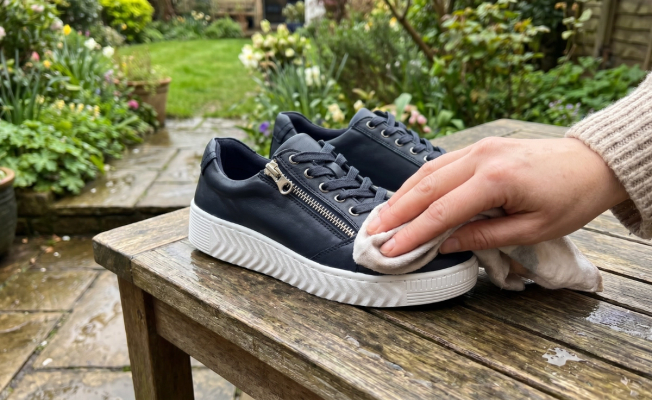
Edges and heels are often overlooked, but it’s very quickly noticeable when they’ve been missed. Applying edge dressing or matching polish to the heel and welt of the shoe with a small brush, then buffing gently once dry, will get these areas looking polished.
It’s well worth taking a few extra minutes to get this step done.
Step 6: Let Shoes Rest
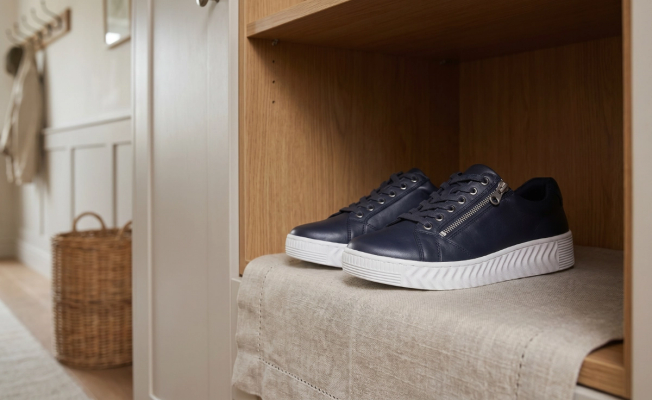
Leave your polished and buffed shoes for at least 30 minutes before wearing, ideally longer. Letting the wax harden and bond makes the protective layer stronger and the shine more stable.
Store them in a cool, dry place - avoid direct sunlight or heat because they’ll soften the wax and attract dust.
How to Maintain Leather Shoes Long-term
Here are some quick tips to keep your shoes in the best possible condition between polishes.
- Polish frequency: if you wear the same shoes every day or on a regular basis, polishing your shoes every 1-2 months will help to preserve them and keep them looking as good as new. For shoes that you wear infrequently, polishing them every six months will help to restore their shine and keep them feeling fresh.
- Wipe down after each wear: just a quick once-over with a brush or cloth removes surface dirt and makes polishing sessions easier.
- Rotate your shoes: let leather rest between wears, avoid wearing the same pair every day.
- Store them properly: somewhere cool, dry and away from sunlight. Never in plastic bags.
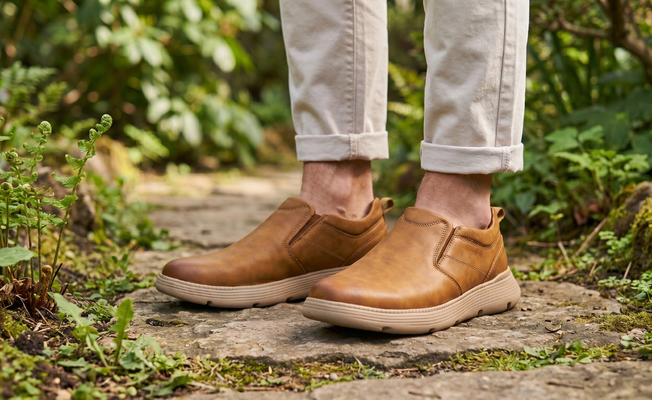
Care Well for Leather
Follow the steps in this guide, and your leather shoes will stay looking their best for years to come. Leather shoes are an investment, but given the right care and attention, it’s one that will continue to pay off. Take a look at our shoe care range to find the things you need to keep yours clean, or browse our leather shoes if you’re looking for a new pair.